Count the stairs in a split-level some time. I did last Tuesday, while carrying a basket of laundry up from the bottom level with my left knee complaining at every step. From the family room to the bedrooms is two half flights, fourteen steps total. On a normal day I go up and down that path eight or nine times. Greg's left knee is worse than mine, and he's up at 3:40 every morning feeling his way to the kitchen in the dark.
Our house was built in 1977 and it's a tri-level, which means half-flights everywhere. When we bought it in 1999 we were in our early thirties and I thought the different levels were charming. They're still charming. They're just also a lot of stairs for two people who both own knee braces.
We aren't ready to move, and honestly we don't want to. So this month I started looking at what we could change to make the house easier to live in now and later. Josh moved into his last college apartment last Saturday, so the house is ours to rearrange.
Handrails on both sides
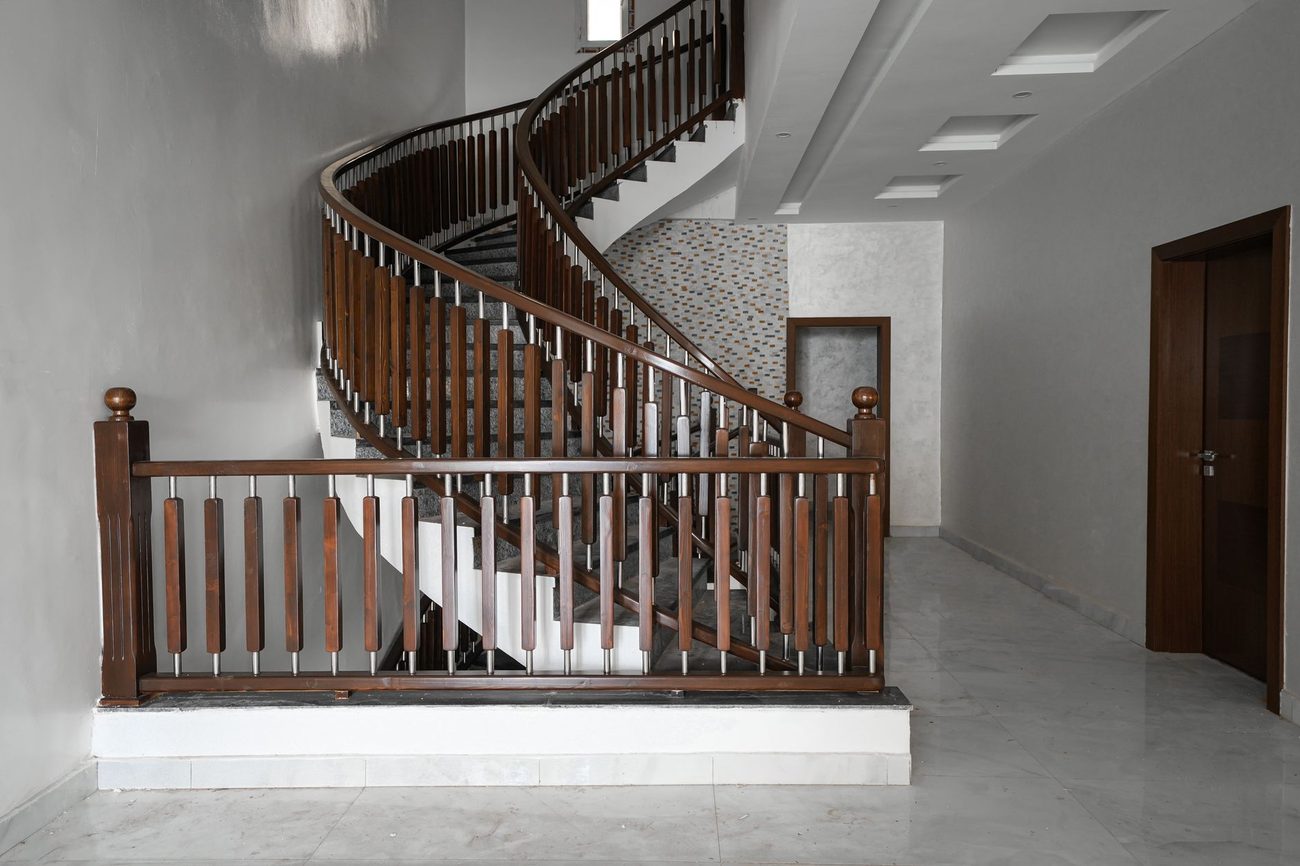
Our main staircases had a railing on one side only. The half flight down to the family room had a short decorative rail that ended two steps from the bottom, right where you'd want to grab it.
We had a handyman install three new wall-mounted handrails: a second rail on the upstairs flight, a second rail on the downstairs flight, and a full-length replacement for the short one. Plain oak rails with metal brackets screwed into the studs. He charged $385 for parts and labor and was done in an afternoon.
I could feel the difference the first night. Having a rail for each hand when you're carrying something, or when your knee locks on the way down, is the kind of thing you don't notice until you have it. Greg uses the new one on the downstairs flight every morning. He says it's "fine," which from Greg is a rave review.
Light where the stairs are
Our stairway lighting was one ceiling fixture at the top of each half flight, with a single switch. Coming up from the family room at night meant either climbing in the dark or going back down to turn it off.
Here's what we did about that, cheaply:
- Plug-in LED night lights with light sensors on each landing: four of them for $22. They come on at dusk.
- Battery-powered motion-sensor stick-on lights under the edge of the stair treads on the downstairs flight: a six-pack for $29.
- Brighter LED bulbs in the existing fixtures, 1600 lumens instead of the old 60-watt equivalents: $14.
- A strip of contrasting anti-slip tape on the edge of the bottom step, which is the one we both miss: $9.
That's $74 in lights and tape. The motion lights under the steps were my favorite purchase of the summer. Greg was skeptical, then I caught him waving his foot at one to see if it would turn on.
Moving the daily stuff to the middle
The bigger change was free. We looked at what we carry up and down every day and moved as much of it as we could to the middle level, where the kitchen and living room are and where we spend most of our waking hours.
The laundry has to stay downstairs because that's where the hookups are, but I moved the clean-clothes folding to the kitchen table and now make one trip up with everything, not three. I put a small basket at the bottom of the upstairs flight for things that need to go up, and nothing goes up until it's full.
Greg's coffee things, his lunch cooler and his route paperwork had been spread between the kitchen and the family room. Now it all lives on one shelf in the kitchen pantry, so his 3:40 routine doesn't involve any stairs at all until he's out the door.
We also moved the second TV and his recliner from the family room up to the living room. He watches the Reds from there now, and Biscuit has followed the recliner, as cats do. The family room downstairs is turning into more of a guest and storage space, which is fine.
What we spent and what's next
Total for the month: $385 for the railings plus $74 for lights and tape, so $459. I wrote it under "House" in the green notebook, with a note that says "knees" next to it.
There are bigger things we'll probably need someday, like a grab bar or two and a better setup in the downstairs bathroom. We're not there yet. For now, rails on both sides and a lit path at 3:40 a.m. are doing a lot of work for less than $500.
Next week I start a part-time bookkeeping job, mostly from the kitchen table. On the middle level, naturally.